The Hitchhiker's Guide to an Ioke Dev Env From Source (part 2: Emacs) Supporting tagline
This is the second part in a series of posts for non-experts about setting up an Ioke development environment on Linux. Please see the previous post to start at the beginning:
In this post we will install GNU Emacs from source and also get a basic configuration set up using the emacs-starter-kit.
If you already have Emacs installed and have an old configuration laying around you probably want to make a backup of this before following the below instructions. This post assumes that there is no Emacs installed and that the user doesn’t have any Emacs configuration in the home directory.
Installing Emacs
Git is an efficient Distributed Version Control System. Although the primary VCS for Emacs is still CVS - and it looks like they are moving towards Bazaar - we’ll get the Emacs sources from the Emacs Git mirror. We want to be cool, right?
~$ cd work
~/work$ git clone --depth 1 git://git.sv.gnu.org/emacs.git
Initialized empty Git repository in /home/melwin/work/emacs/.git/
remote: Counting objects: 46400, done.
remote: Compressing objects: 100% (24410/24410), done.
remote: Total 46400 (delta 41204), reused 25501 (delta 21836)
Receiving objects: 100% (46400/46400), 74.38 MiB | 213 KiB/s, done.
Resolving deltas: 100% (41204/41204), done.
Checking out files: 100% (2837/2837), done.
With the --depth 1 parameter we limit the history so that we only get the latest version of the files - in this case we’re not interested in the full history.
Previously, to get fun things like multi-tty support and smooth fonts, we had to get specific feature branches of Emacs. Nowadays, however, all the things we want are merged into the Emacs master branch. Before building, the only thing we need to do is to make sure the necessary development libraries are installed. In case you wonder how I came up with this list: the good ol’ method of trial and error. I simply ran the configure command and checked the error messages. This helped me identify the needed libraries. Now you can reap the benefits by just doing the following:
~/work$ sudo apt-get install libgtk2.0-dev libxpm-dev libjpeg-dev libgif-dev libtiff-dev
...
… and then run the classical configure, make and make install:
~/work$ cd emacs
~/work/emacs$ ./configure --prefix=$HOME/opt/emacs-23.0.60
...
~/work/emacs$ make
...
~/work/emacs$ make install
...
Phew. That burned som CPU cycles…! Once done - let’s add it to our bin directory, just as we did with Git.
~/work/emacs$ cd ~/bin
~/bin$ ln -s ../opt/emacs-23.0.60/bin/emacs
~/bin$ ln -s ../opt/emacs-23.0.60/bin/emacsclient
~/bin$ ls
emacs  emacsclient  git
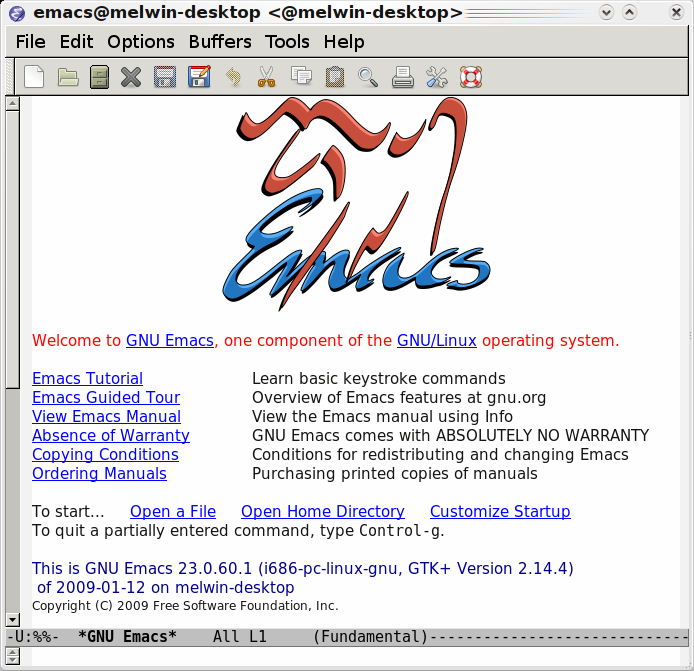
Time to test. Just run emacs:
~/bin% emacs
This should show you an Emacs window with a pretty(?) GNU.

If you’re completely new to Emacs, this might be a good opportunity to run the Emacs tutorial. Emacs is a self-documenting editor, which means that most things that you might want to learn about Emacs can be found inside the editor itself - including information about internal functions and libraries.
To run the tutorial, just press Ctrl+h t (that is, control and h, release control, then press t), or, in Emacs lingo, C-h t (which is the convention I’ll use from now on).
Once you’ve learned enough (you did complete the whole thing, right?), just quit using C-x c.
Next up is emacs-starter-kit to get more functionality in Emacs and a decent default configuration to help us get going - stay tuned!
/M
Update:blog comments powered by Disqus